
The Tactical Rook Lift
About a year after I learned the rules of the game, I became practically obsessed with rook lifts. In my (inexperienced and naive) opinion, no attack was truly complete without an aesthetically pleasing rook lift.
Indeed I had a rook (or two) on the third rank by move 20 in almost every tournament game. Unfortunately, at the grandmaster level, direct attacks on the king do not occur as frequently, and rook lifts -- which can take two or even three moves to complete -- are not too common, either.
Nevertheless, in this article, I will try to demonstrate the power (and the beauty) of a well-timed rook lift.
I would like to start by showing my game against Russian GM Mikhail Ulibin, played in June at the Teplice Open (Czech Republic).
Notice that the rook on h3 did not create threats itself; I needed to shatter my opponent's pawn structure with 24.Nf6 in order to actually justify the rook lift. It is also noteworthy that even with a queen, rook, and knight in the defense, Black was unable to hold his position together.
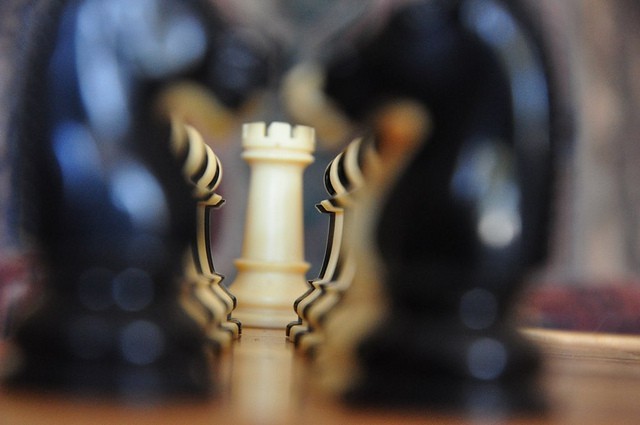
View of Tanner's Castle by Roxnstix | CC
It is crucial to recognize that the purpose of a rook lift is not always to deliver immediate checkmate. Sometimes, it is a way of intensifying the attack, creating the potential for a combination and forcing your opponent to abandon his plans. In the following game, GM Andrei Sokolov puts on a stunning tactical display.
This game is especially instructive because Sokolov's attack did not lead to immediate checkmate or resignation. He needed to display some accurate technique in order to finish White off in the endgame, and by relaxing prematurely, he nearly let Lugovoi off the hook.
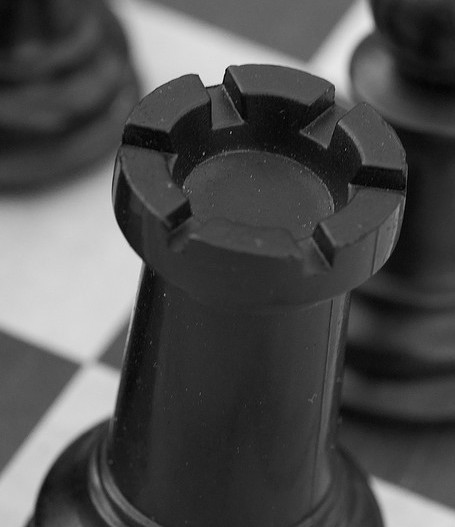
Pawn Pawn Rook by Jeremy Brooks | CC
In his book My System, Nimzowitsch asserts that an active, centralized rook has the potential to wreak havoc by "trampolining" from flank to flank. This is a notion that every chess player should take to heart. A rook has tremendous mobility, so it can move from flank to flank with breathtaking speed. In the following gem of a game, GM Artur Yusupov brilliantly showcases the flank-to-flank rook lift.
To be fair, rook lifts aren't always so convincing, but they are almost invariably unpleasant to face. In fact, when your opponent lacks sufficient counterplay, sometimes you have the luxury of executing two rook lifts! In our final game, I needed no less than two rooks, a queen, and a bishop to crack my opponent's insanely solid defensive bastion.
The lesson is clear: the rook lift is by no means a cheap or amateurish maneuver. It is a crucial tool in every attacking player's arsenal. Next week, we will examine the rook lift from the positional point of view. For now, I bid you adieu!
RELATED STUDY MATERIAL
- Check out GM Daniel Naroditsky's previous article: Trying Too Hard to Win
- Hungry for more rook madness? Watch our video on double-rook sacrifices
- Try an intermediate lesson on rook tactics in the Chess Mentor
- Use your rooks like weapons in the Tactics Trainer
- Looking for articles with deeper analysis? Try our magazine: The Master's Bulletin


