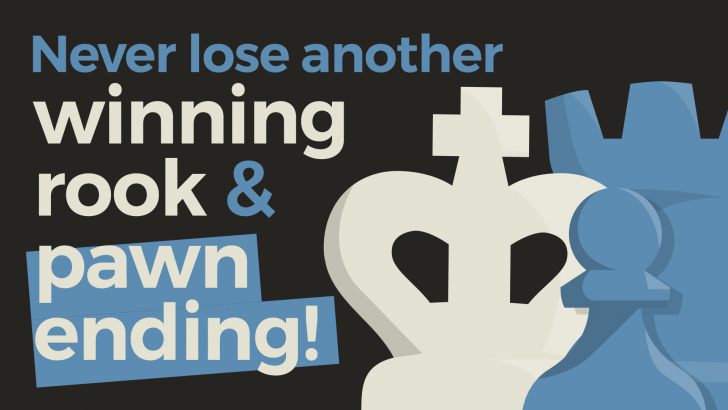
Do or Die with Rook Endings
Don't blow a winning rook ending again!
Rook endings are the most common in all of chess. Therefore you need to know the basic positions and some strategic principles when the play becomes more difficult. I want to have you learn and practice the former, and give you a feel for the latter. Start improving your rook and pawn endgame play today!
Here is what you will learn:
- Learn the essential rook endings that all experienced chess players should know!
- Learn how to convert extra material into a win!
- Learn how to best activate your rooks!