HOW TO: Create animated thumbnails for your blogs! 😺


Over time, many people have contacted me about how I create my thumbnails. I myself have learnt to use new tools as they've evolved as well. So, I thought that I'd document and share some of my methods here. It should be noted that there is no single "right" way to do this. This is just my way. I'd also note that thumbnails and thumbnail art are only an accessory to the main creative endeavour with writing a blog article, which is the written content. At the end of the day, they aren't really that important! Nonetheless, I enjoy the creative process in making interesting thumbnails for my articles and videos. Let's begin!

Step overview
[A] Creating the image/assets
[B] Compositing the image
[C] Animating the image
[D] Conversion to WEBP format

Creating the image/assets
For the vast majority of my thumbnails, I create my own images. Sometimes, this will be through photography, or it’ll be a snapshot from my video. This will usually require some degree of editing, sometimes substantially. For AI image generation, I use (and pay for) Leonardo.AI and I think that it is fantastic. I think that you can use some of it for free, and of course, there are many low cost/free image generation services and apps nowadays (November 2025 at time of writing).
Alternatively, you can make use of stock images from a service like Canva.

Style and theme
Those of you who have seen my blog and channel will know that I have a particular style with my thumbnails. A recognisable style allows readers to identify the author, as well as form a thematic connection with previous content that they have engaged with before they’ve even clicked on the link. Ideally, you’ve planted a positive expectation before the reader has even read the first word! For instance, @SheldonOfOsaka blog articles are immediately recognisable from his thumbnails.
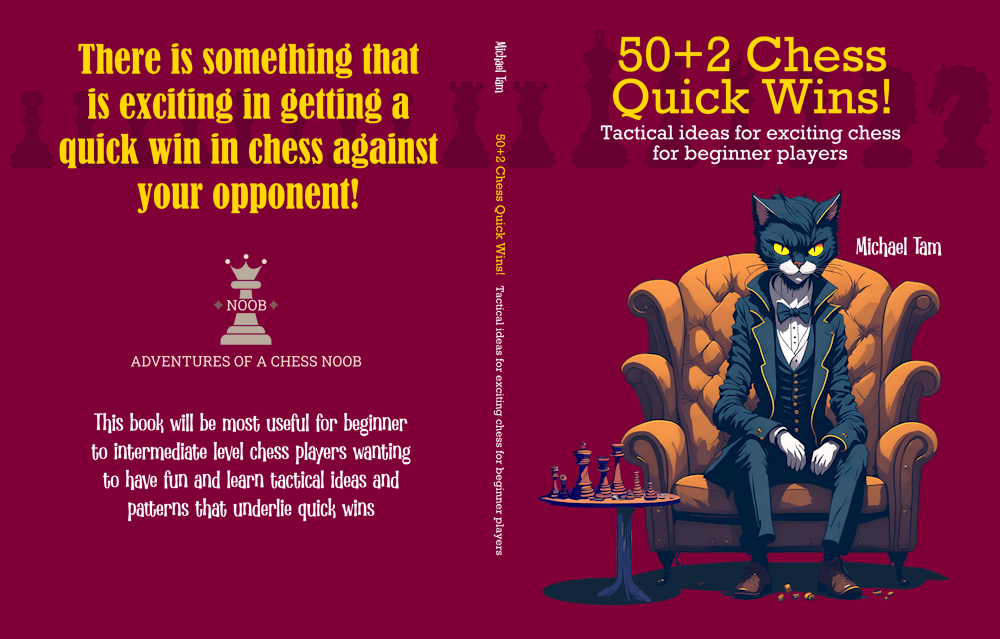
Some of the thematic elements in my thumbnails (see them on my blog page) is the use of bright saturated colours, a dark maroon sometimes used as a background or contrast colour, illustrated cats which are sometimes humanoid, and the use of bright or glowing text that usually uses the same fonts in either yellow or white.
It can take some time to find your style. It doesn’t necessarily need to fit in with established design conventions, but I would note that conventions sometimes exist for pragmatic reasons (e.g., clarity and aesthetics).

Creating an example using AI image generation
Earlier in the year, I created the following image (which I ultimately didn’t use for a thumbnail). The concept was about me defeating a chess bot. So, in my mind, I wanted the basic asset to be an illustrated image of a cat (which thematically represents me) sitting atop the broken shell of a robot.
The prompt I used in Leonardo.AI, using the “anime” model was: anime cat grins while sitting on top of a broken metal robot, colourful lighting, illustration using cell shading, impressionist, expressive style
The initial output was:


Not bad, but notice that the cat’s tail seems to be coming out of the machinery in an odd way? In practice, I would probably just edit the image manually in Paint.NET, but we can use the canvas editor tool in Leonardo.AI to make the edit. We delete the offending part of the image, and have inpaint/outpaint the missing section.


Of the four prospective fills, the following was the best, and the one I’m going to run with.


This is a reasonable starting image. My next step usually is to do an AI upscale (with Leonardo.AI) so that we have a higher resolution image to work with, some minor touch ups to fix any generative AI-glitches with Paint.NET, and finally then some adjustments to the overall saturation and exposure of the image, and crop to 16:9 aspect ratio. Rule of thirds in composition: have the subject (cat’s face) roughly at one of the “thirds”.


Compositing the image
I’m going list this as the second step as a simplification of the method. I normally create the animated assets first, and then composite the final thumbnail (e.g., the other image elements, text, effects, etc.) in a video editing program. This is as it gives much greater control. However, that makes the method quite a bit more complicated. For simple looping animations, we can composite the image first.
As mentioned before, I usually use the completely free Paint.NET for most of my image editing. Let’s include a title and my channel logo, each made as a separate layer. For the text, I’m going to use my signature bright yellow, with a dropped shadow, and glow effect. For the channel logo, I’m going to blend it using “Colour Dodge”.


My tip is to not underestimate the importance of choosing the right typography and carefully adjusting the size and location of the text. Some of it will need to be based on intuition on whether it “looks right”. The focus should be on legibility.

Animating the image
To animate the image, we’re going to take it back to Leonardo.AI and use a video generative AI model. The goal is to create a subtle looping video so we need to use a model that allows us to define both a Start Frame and an End Frame. The one I typically use for this application (based on okay quality, and low token cost) is Kling 2.1 Pro.
Essentially, we set both the Start and End frame as our composited image. I’ve used the defaults of a 5s duration video at 16:9. We need to now define a prompt. So that the animated thumbnail isn’t distracting or obnoxious (and remember, it needs to go back to the beginning frame over 5 seconds), we want relatively minor and small movements.
I mentioned before that I normally create the animated clip and then composite in a video editor afterwards. The reason for that is that there is a risk that the generative AI will do weird/odd things with the text. That’s not a problem, we can just run it again, but that ends up being costly in terms of tokens, and it takes time (up to a couple of minutes for each generation).
Sometimes you need to iterate on the prompt a few times to get the look you want. The final prompt that I used: illustrated cheerful cat slowly swishing his tail and twitching his whiskers, slow lazy movements only, do not animate the text


Once you have the looping animation, you can download it. It will be an MP4 file at 1080p.

Conversion to WebP format
WebP is an image format developed by Google that can be used to replace all other image formats (e.g., JPEG, PNG, etc.). Importantly, it supports animation like GIF, but with better compression. The format is supported as an allowable image type on Chess.com.
There is a fantastic free MP4 to WebP Converter online: https://imagy.app/mp4-to-webp/


Add the newly created MP4 file, and then put in the following settings:
- Output file format: WebP
- Change image resolution: By Width ➡️ Width in px: 1280 or 1600
- Compression Settings: Enable ➡️ you’ll have to experiment with the level. You’d need the filesize to be under 5 Mb to be able to upload it as a thumbnail.
Note: I find that this tends to work a lot better if you use a video editing program to manually reduce the framerate to 15 fps before using the online conversion. I personally use Wondershare Filmora.
And the result!


Enjoy!

Additional:
Since I wrote this originally, the rapid pace of some of the image generation tools has already advanced. I still personally find Kling models (but newer versions) to be excellent bang-for-the-buck (insofar as the token cost for the output quality) for these sort of short video generation. However, for some of the stylised image generation and editing, Nano Banana is markedly better in terms adherence of the prompt, though it is perhaps a more difficult to achieve my historical style.